 |
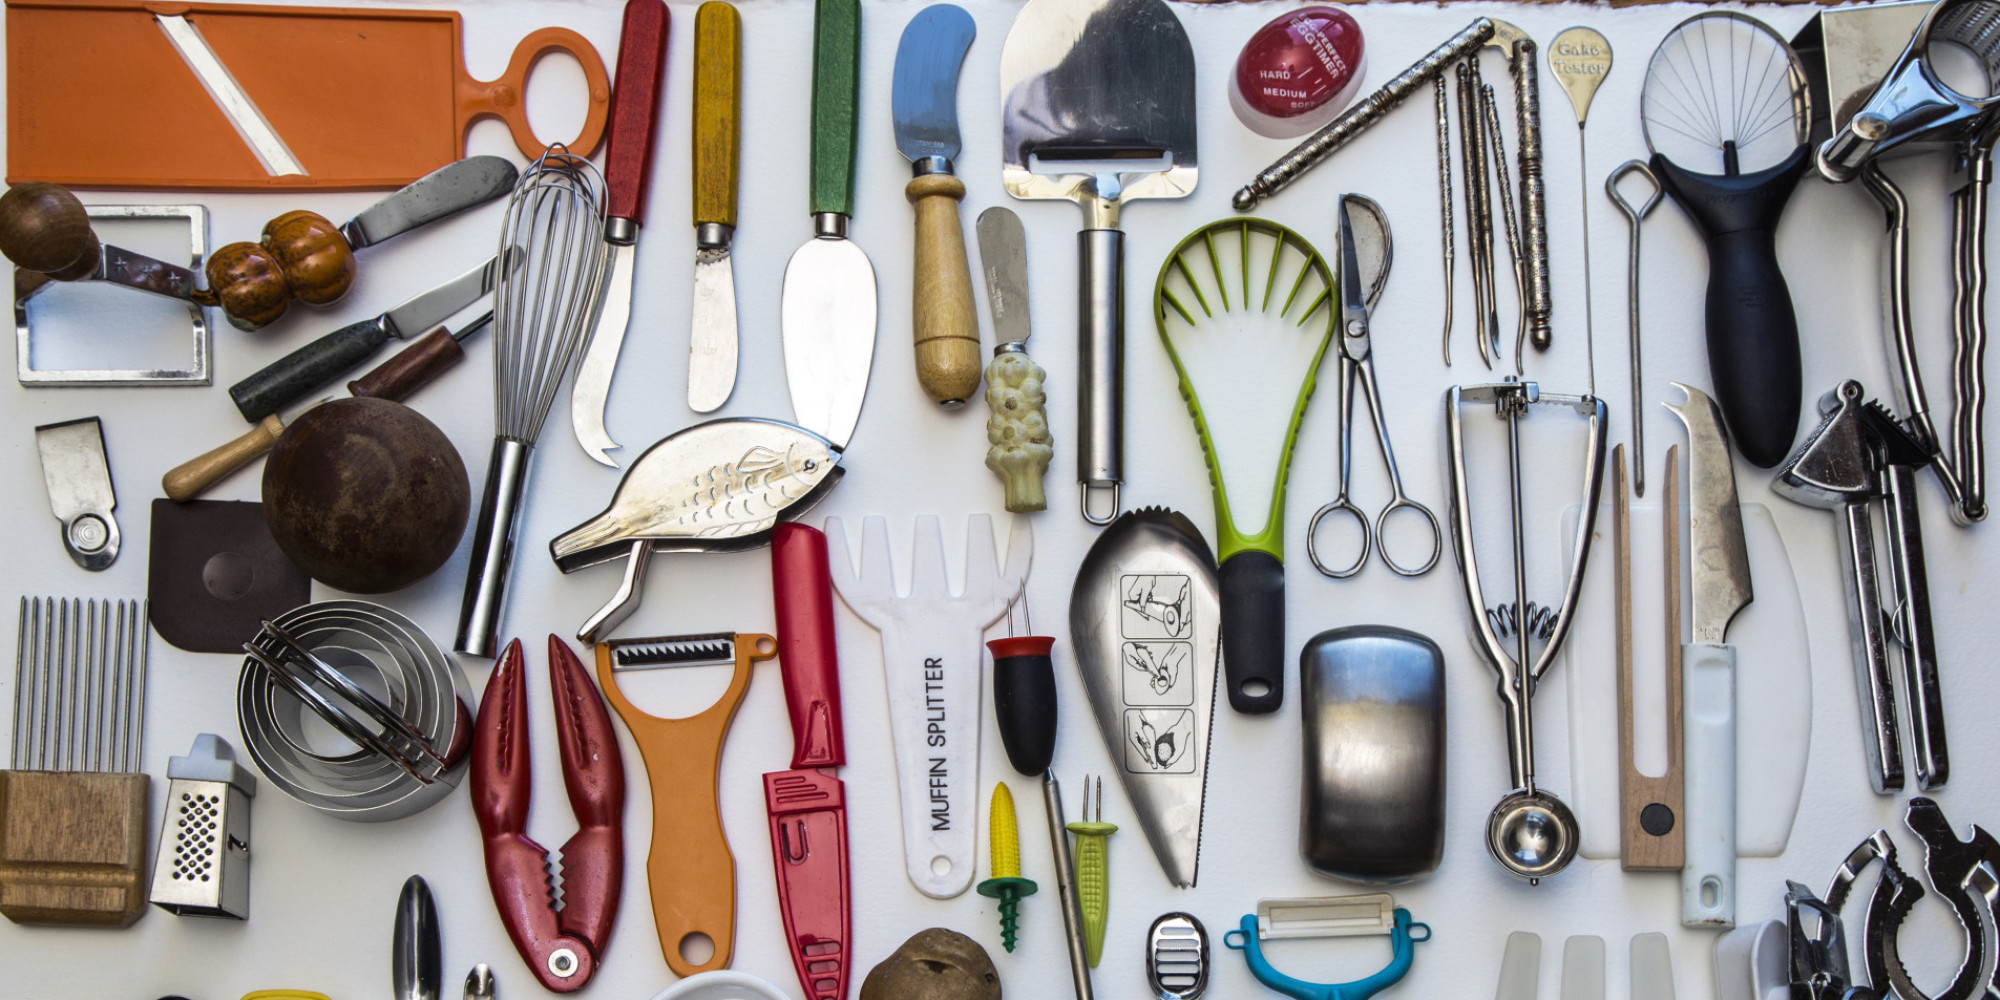
| photo credit: huffingtonpost.com |
If you or someone near and dear to you is heading off for the first year of college, moving off-campus, or venturing out into the world as a college grad, some basic kitchen gear—tools, pots, pans, plates, and more—makes an excellent and practical graduation gift. At this stage in life, bang for the buck is of utmost importance, and given that kitchen space can be at a premium (especially when shared with roommates), we did our best to track down the most affordable, durable, and well-designed kitchen essentials we could find. Read on for 21 kitchen basics to help you or your grad whip up some scrambled eggs, bake your favorite chocolate chip cookies, and throw a dinner party for friends.
PREPWARE
Knives
Ah, the transformative power of sharpened steel. Whether you're dealing with fruit, vegetables, herbs, or meat, you're going to need to chop, slice, or dice something at some point. The two most important knives in your arsenal are a good-quality chef's knife to tackle the big stuff and a paring knife that can handle the little things. A good knife should feel comfortable and well balanced in your hand.
Cutting Board
A wooden cutting board will be easy on your blades, keeping your knives in tip-top condition. Dedicated cutting boards—one each for meat, seafood, poultry, and produce—are ideal, but not necessarily practical when space and funds are tight. Just be sure to sanitize your board after working with raw meats or seafood, to avoid cross-contamination.
Tools
A well-stocked kitchen ought to include, at the very least, a vegetable peeler, hand-operated can opener, and a pair of tongs. Tool sets are a great way to ensure you have all the necessary pieces to make your prepwork easier.
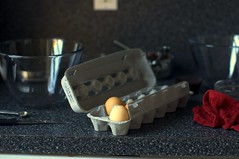
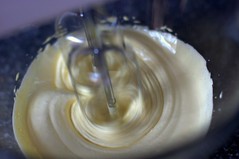
Mixing Bowls
You'd be surprised by how much mixing you might do—from pancake batter to vinaigrette—so look for durable bowls that can handle large and small volumes. A bonus: They double as serveware. And because these often come as nesting bowls, they won't take up much space. If possible, find ones with lids, which make them perfect for keeping leftovers. Multitasking, after all, is crucial when space and budget are limited.
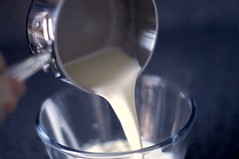
Measuring Cups
It's tempting to measure liquid and dry ingredients with the same implements, but in fact, measuring cups for each are designed slightly differently to accommodate the innate qualities of wet and dry ingredients. Wet measures have a spout for easy pouring; if made of tempered glass, the vessel can hold hot liquids and be used in the microwave. A measuring cup with both metric and standard units is ideal.
Dry Measuring Cup
Designed to be filled to the top and leveled off, dry-ingredient measuring cups are handy not only when you bake but also when making oatmeal or cooking up rice or quinoa. Look for stainless steel, a material that's stain- and odor-resistant.
Measuring Spoons
Measuring spoons have their place in every kitchen. Look for a set that allows you to separate the spoons from the ring and that includes the handy half-tablespoon measurement.
Colander
Pasta is any young adult's dinner staple, given that it's cheap, quick, and easy. But to drain the noodles, you'll want a colander. Although colanders are available in both plastic and metal, we prefer the more durable metal ones. Other uses for a colander: draining cooked vegetables, rinsing salad greens, and making spaetzle. Look for ample perforation for maximum drainage.
Spatula
A spatula is indispensable. How else could you scramble eggs, flip a burger, or successfully remove cookies from a baking sheet without crumbly disappointment? A slotted spatula allows you to leave excess liquid or oil behind.
COOKWARE
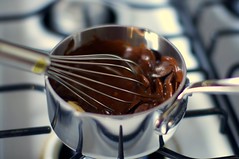
Nonstick Saucepan
A nonstick saucepan makes cleanup a breeze. As with any cookware, a comfortable handle is easier to grip and safer to use. A 2-quart pot is perfectly sized for cooking for one (and perhaps two)—whether it's pasta, soup, vegetables, or rice.
Nonstick Frying Pan
You could argue that frying pans are a kitchen's workhorse: You can brown, fry, and sauté with one. Omelets, stir-fries, hamburgers, pancakes, and grilled cheese sandwiches are just some of the foods that can be cooked in a frying pan. The easiest to clean are those with nonstick surfaces, which can be pretty forgiving (especially helpful if you're a beginner cook). Try to get one with a lid so you can braise in it as well as keep food from spattering.
BAKEWARE
Rimmed Baking Sheet
Rimmed baking sheets work not only for baking cookies and doughnuts but for savory dishes as well—roasted vegetables, dinner rolls, spatchcocked chicken, a whole fish, or even a rack of lamb. They're also useful in catching a pie's overflow juices. An accompanying storage lid can help keep cooled baked goods fresh, as well as make transporting them a neater endeavor.
Baking Dishes
Baking dishes make pies and crisps, roast chickens, and all sorts of casseroles—hello, mac 'n' cheese—all possible. They're even useful for serving straight from the oven to the table. Although you can find baking dishes made of ceramic, stoneware, and metal, our preference is for glass, which tends to be relatively inexpensive and allows for easy monitoring of the cooking process. Baking dishes with lids are great for storing leftovers or transporting your masterpiece to a potluck party.
LINENS
Kitchen Towels
If there's a trick to cooking completely mess-free, we haven't mastered it yet, so thank goodness for kitchen towels! Besides wiping stuff up, towels are great for drying delicate salad greens, covering rising bread, or keeping food wrapped and warm on the table. Plus, towels are an easy and relatively inexpensive way to display your kitchen personality.
Pot Holders and Oven Mitts
They say the mark of a true chef are burns on one's hands and arms, but we're all about safety. Not only will good-quality pot holders and mitts protect your digits and limbs, but they're also impromptu trivets, shielding your counters and tabletop. Silicone pot holders offer high-heat protection, but you might find that heat-proof quilted pot holders are a little more flexible and easier to use.
TABLETOP
Dishware
Now that you can make whatever delicious delicacy you please, you'll need something stylish to serve it on. No eating out of the pot! Though the lowest-priced tableware may not last, durable, good-looking dishware is possible to find without breaking the bank. Buying individual pieces has its advantages, but if you prefer a dinnerware set, look for one that includes at least a dinner plate, salad plate, bowl, and mug.
Flatware
It's time to graduate from disposable utensils, if you haven't already. Buying individual pieces to accommodate your lifestyle can be a little tricky, though, since many sets offer more than what you may really need. One piece of advice: Food tastes better when enjoyed with a friend or loved one, so buy enough for at least two of you.
Drinking Glasses
Drinking straight from a carton or bottle isn't very grown-up, so be sure to get some basic glassware. A combination of taller drinking glasses and shorter tumblers allows you to offer guests a variety of drinks.
That's just about it! Bring out your checklist and make sure that you get everything ready for your new home!
Do you happen to have any suggestions for our new graduate friends? Let your thoughts be heard in the comment section below and don't forget to share this post with family and friends on Facebook and Twitter. Thanks!
-XoXo
post credit: http://bit.ly/1vqqHhP