8.6.15

Benefits of a Back Seat Organizer with Table Holder


Words cannot describe how imperial it is for a mother to make sure that her children get the utmost safety when it comes to going out on a family pick-nick or just a drive around town. Same can be said for car accessories that ensure the organization of future car clutters and hazardous materials that may influence the well-being of a child.


That said, here are some of the benefits of using a back seat car organizer in your car:
  • Fix impeding car clutter
  • Organize materials
  • Make important storage items easier to locate
  • Makes a pretty car accessory
  • Promotes car cleanliness
  • Minimizes unforeseen injuries


These are just some of the examples of the benefits of using a back seat car organizer in your car. Do you have more to add? Feel free to jot them down in the comment section below and don't forget to share this information with your family and friends on Facebook, Twitter, and many other social media platforms you know.

* To grab a hold of this fabulous back seat car organizer, visit Mom's Besty on Amazon.


- The Oppidan Escape


23.4.15

The Common Ice Cube, Reborn


Your typical 'common' ice cube has had it's glory days being the popular ice form to accompany many dark and light spirit drinks, cocktails and various types of mixed drink. Sadly, the form of the ice cube allows the ice to melt faster, thus ruining some superior spirits. Enter Sphericool's Ice Ball Maker. These spherically shaped ice can usher a new era in the age of drinking refreshments and whatnot. 


With the help of a silicone mold, it transforms ordinary water (distilled water is preferable always) into a chunk of round and clear ice ball that is void of impurities. This spherically shaped ice can very well fit many types of glassware for the common wine, spirits, beer, and cocktail.


It's spherical shape allows lesser surface area compared that of a regular ice cube. This means that the lesser the surface area of the ice, the slower its melting process. 


Not only that! A round or spherically shaped Ice ball can also add class to any kind of drink you add it to.


- The Oppidan Escape
photo credits: bit.ly/1OijDix 

28.1.15

Why Retinols are the Best Products for Anti-Aging

photo credits: wisegeek.com

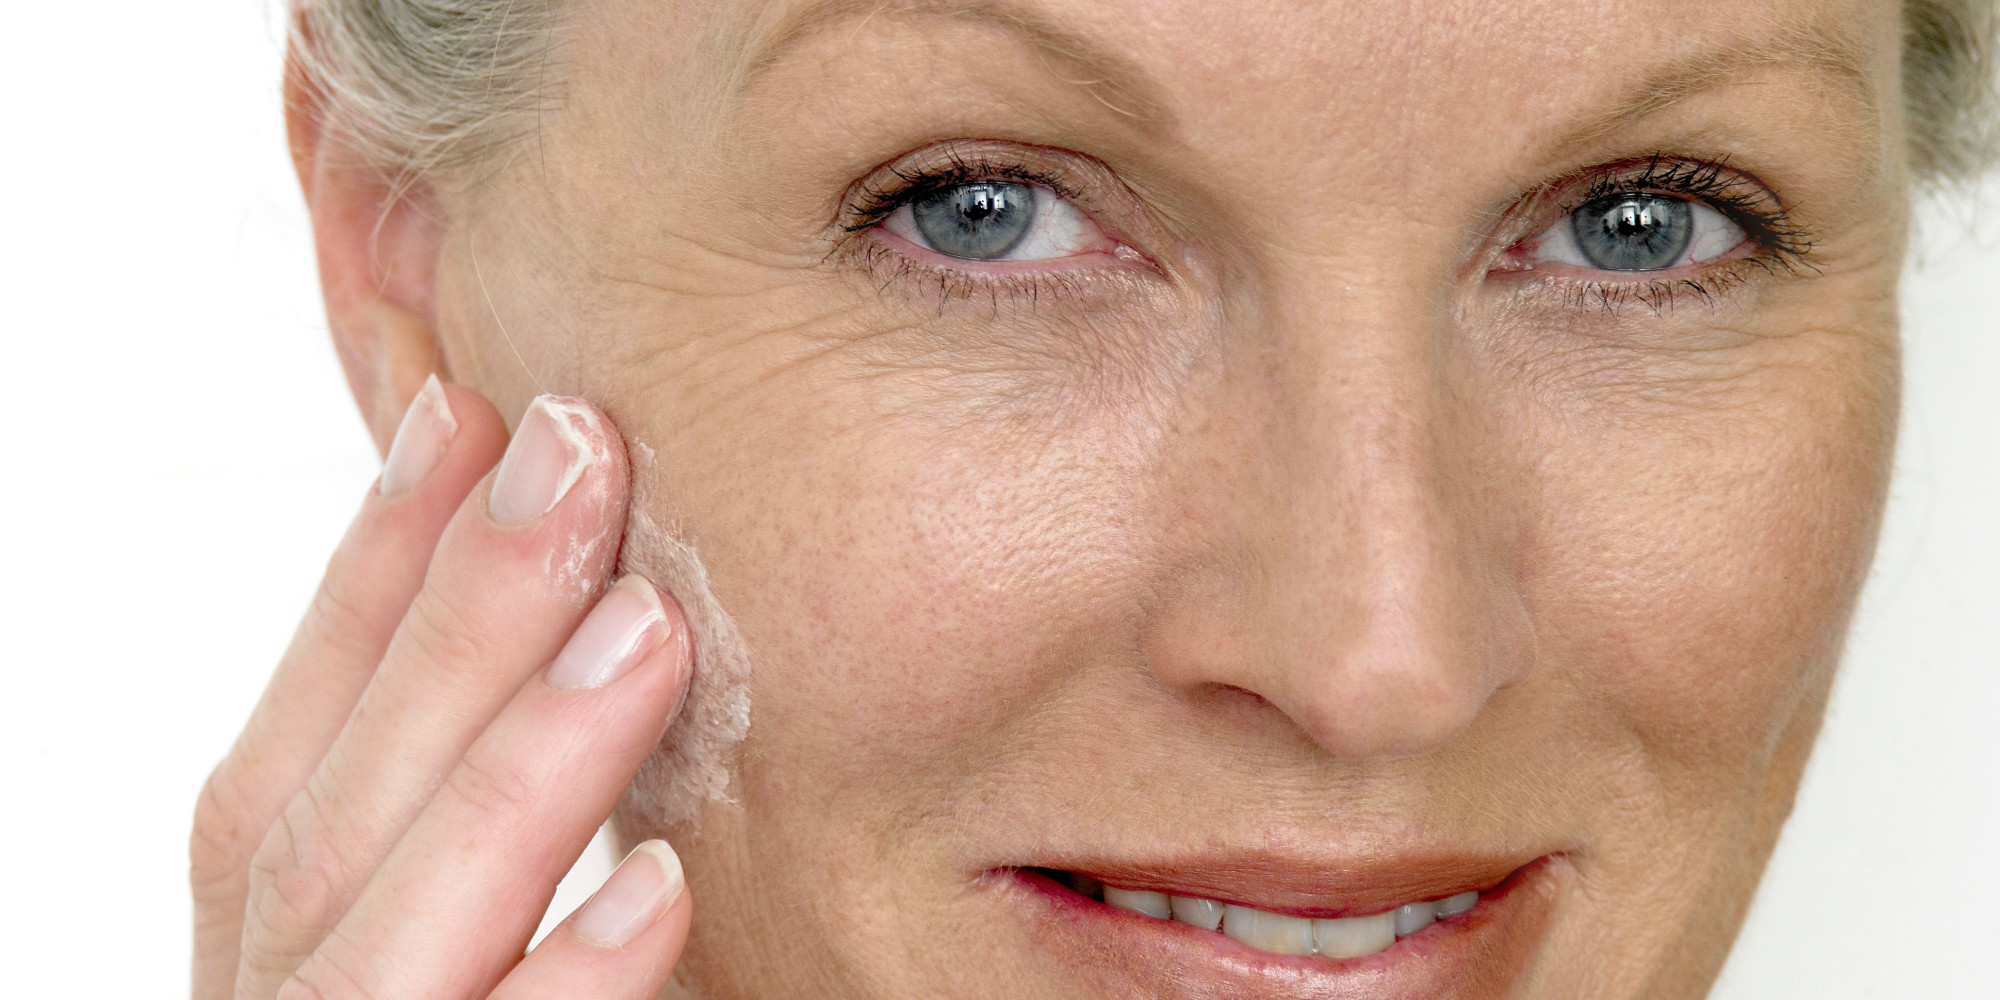
Out of all of the “anti-aging” ingredients available on the market today, retinols are the only ones scientifically shown to work on a molecular level. 

Retinol is the less-aggressive form of prescription-strength tretinoin and also has scientific evidence to prove its effectiveness. These creams are best started once every other night, a small amount used for the whole face. If too much is used, it increases irritation, not effectiveness. It’s important to use a moisturizer while the skin gets used to the retinol (usually takes about 2 weeks) as dryness can be a problem. Newer formulations of products have controlled delivery systems and special emollient ingredients to help reduce irritation. The use of a sunblock is mandatory in the morning because these products will make the skin slightly more sun sensitive. 

photo credits: huffingtonpost.com

Retinoids and retinols are best used at night because they are photo-inactivated, meaning direct sunlight will break them down and make them less effective. The most effective over-the-counter products contain 1% retinol (but no less than 0.5%).

There is no reason to be too aggressive at first because that may lead to excessive irritation and, many times, the person may stop using the cream (when all they really needed was a longer amount of time for their skin to get used to it). The best way to use retinol is by gradual introduction.

Remember the rule of thumb: "Slow and steady always wins the race" (not that it's a race, well sort of).


- The Oppidan Escape
post credits: http://bit.ly/1yMTnU6

23.1.15

Cleaning Your Paint Brushes After an Oil Painting Project

An artist’s most valuable tools are his or her brushes, and to keep a paintbrush lasting as long as possible it’s important to get all the paint out of the bristles after painting. (It also helps to buy good artist paintbrushes to begin with.)

photo credits: instructables.com


Here are some processes to consider when cleaning your very own paint brushes.

  1. First get some paint thinner, turpentine, or mineral spirits—ideally you should already have some on hand to mix with linseed stand oil for painter’s medium. Pour a little bit of the thinner into a small container which you can seal up afterward; you’ll be able to use the same amount of thinner for a long time.

  2. You’re also going to need some liquid soap— you can use regular hand soap for this but if you have a brush cleaning agent you can trust, you can use it as well; either way, these cleaning products work well. The only advantage of using a brush cleaner is that you get to have added bristle conditioners mixed in, so it may prolong the life of your brushes better than regular hand soap.

  3. Of course, you won’t need the brush cleaner or soap until you get all the excess paint out of your brushes. Here’s where a little finger strength comes in handy. Take your brush with one hand and a piece of newspaper with the other, wrapping the newspaper around the metal part of the brush.

  4. Then, just squeeze as tightly as possible, starting right at the base of the bristles, while pulling the brush back through your fingers. Get as much paint as you can out of the brush.

  5. Go ahead and do it a few times, and especially try to remove all the paint that’s stuck close to the ferrule (the metal part of the brush.)

  6. You should end up with splotches of paint all over your newspaper and a lot less of the paint left in your brush.

  7. Next, take your brush over to the small container of paint thinner and dip it in, scrubbing across the bottom of the container to loosen more paint.

  8. Repeat the squeezing technique with more newspaper, but be warned that it can get a little messier this time around since your brush will have picked up a lot of the liquid thinner. You should see a quite a bit more color flowing out of the bristles however.

  9. Once you’ve squeezed out the thinner a few times your paintbrush will probably have a little more of its original color back, but there’ll still be a paint stain left from the oils.

  10. To finish cleaning the brush, pump some liquid soap into the palm of one hand and hold the paintbrush with your other.

  11. Scrub the brush back and forth across your palm, letting the soap penetrate the bristles to pull out more oil pigment. When the soap gets too contaminated by the paint, rinse both your hand and the brush with water, then get more soap and begin scrubbing again.

  12. Repeat the process until the soap doesn’t change color in your palm, proving that there’s no more oil paint stuck in the brush. (NOTE: If you’re concerned about possible absorption of Cadmium into your skin during this stage, feel free to use disposable gloves.)

  13. Rinse out all the soap and use your newspaper one last time to get most of the water out of the bristles.

  14. It’s important to clean your brushes immediately after you finish painting, even when you’re tempted to let them sit for a day or two. Letting them soak in paint thinner isn’t a good alternative either; it will just weaken the glue holding the bristles in place.

Although it may seem like a lot of effort, good care and cleaning of your brushes will help them last longer and stay functional throughout their lifespan—keeping you from the frustration of using worn out tools, and ultimately saving you money.


- The Oppidan Escape

8.1.15

The Many Types of Easels and Selecting the Best for You

photo credit: ebay.in

Easels are used to hold or display finished or unfinished artwork, either horizontal or vertical position. Some of these are smaller in size for ease in transport to different locations. Easels range in size, weight, material, shape and complexity.

Make your painting experience easier and comfortable by finding the right type of table top easel and by following these selection tips.


TYPES OF EASEL

  • A-Frame Easels – an A shape or triangular easel, has 3 legs. The single leg at the back can allow placement in tight spaces or corners. Also called as lyre easel. There are also various models of lyre easels that differ in the type wood, width, length and flexibility.
  • H- Frame Easels – an H shaped easel, sturdy and can hold 100 inch canvas. Usually created with handy paint trays for storage of art supplies. Most of these frames can be tilted or slant forward and backward.
  • Giant Easels – specially designed for artist on a large scale. These easels can hold or support a canvas with the length of 244 centimeters or more. These are also fully adjustable to suit the need of the artist.
  • Convertible Easels – are also called “hybrid easel”. These can be converted into a table for pastel artist and upright easel for acrylic and oil painters. These provide maximum flexibility and also available with cupboards to hold extra papers or canvas.
  • Single Mast Easel – usually used by beginners, affordable and simple. These are also available in different type of wood used, material and sizes. Most of these can be easily stored and are collapsible.
  • Table Top Easel – these are usually used by small scale artists. These are compact, portable and affordable. These are also available in various models.
  • Portable Easel – are also called “French easel”. These are outdoor designed, usually used by the artist that often transfer locations from one place to another. Other models of this easel have built in drawers and self.
  • Bench Easel – are easel with bench, also used by outdoor artist. There are models of this easel that has wheels for easier transport.
  • Display Easel – primarily used for display of finished art products.
  • Pochade Boxes – are compact boxes, which allows the artist to store art supplies in one place and work on another. Allows artist to work on 12 inch canvas.
  • Children’s Easel – are adjustable to grow along with your child. Available with two sides, allowing both child work on their art at the same time.


SELECTION TIPS


Selecting easels are easy but you need to find the right one in order to address your painting needs. Sometimes, the one that you buy seems to be the right one but later on, you found out that the features are not the one suited for you.

  • Easels made of wood can fold flat but aren't that accommodating. Aluminum ones aren't that reliable when it comes to folding.
  • When it comes to weight, the heavier it is, the more stable it becomes.
  • Those with rubber feet are better.
  • In relation to canvas and boards, the comfortable size maximum is 2.5 times the easel’s width.
  • Easels are can be both cheap and expensive. There are those that only costs $10 and below.


post credit: http://bit.ly/1xKXsaN

6.1.15

The Many Types of Art Desks for the Artist in You

photo credit: hgtv.com

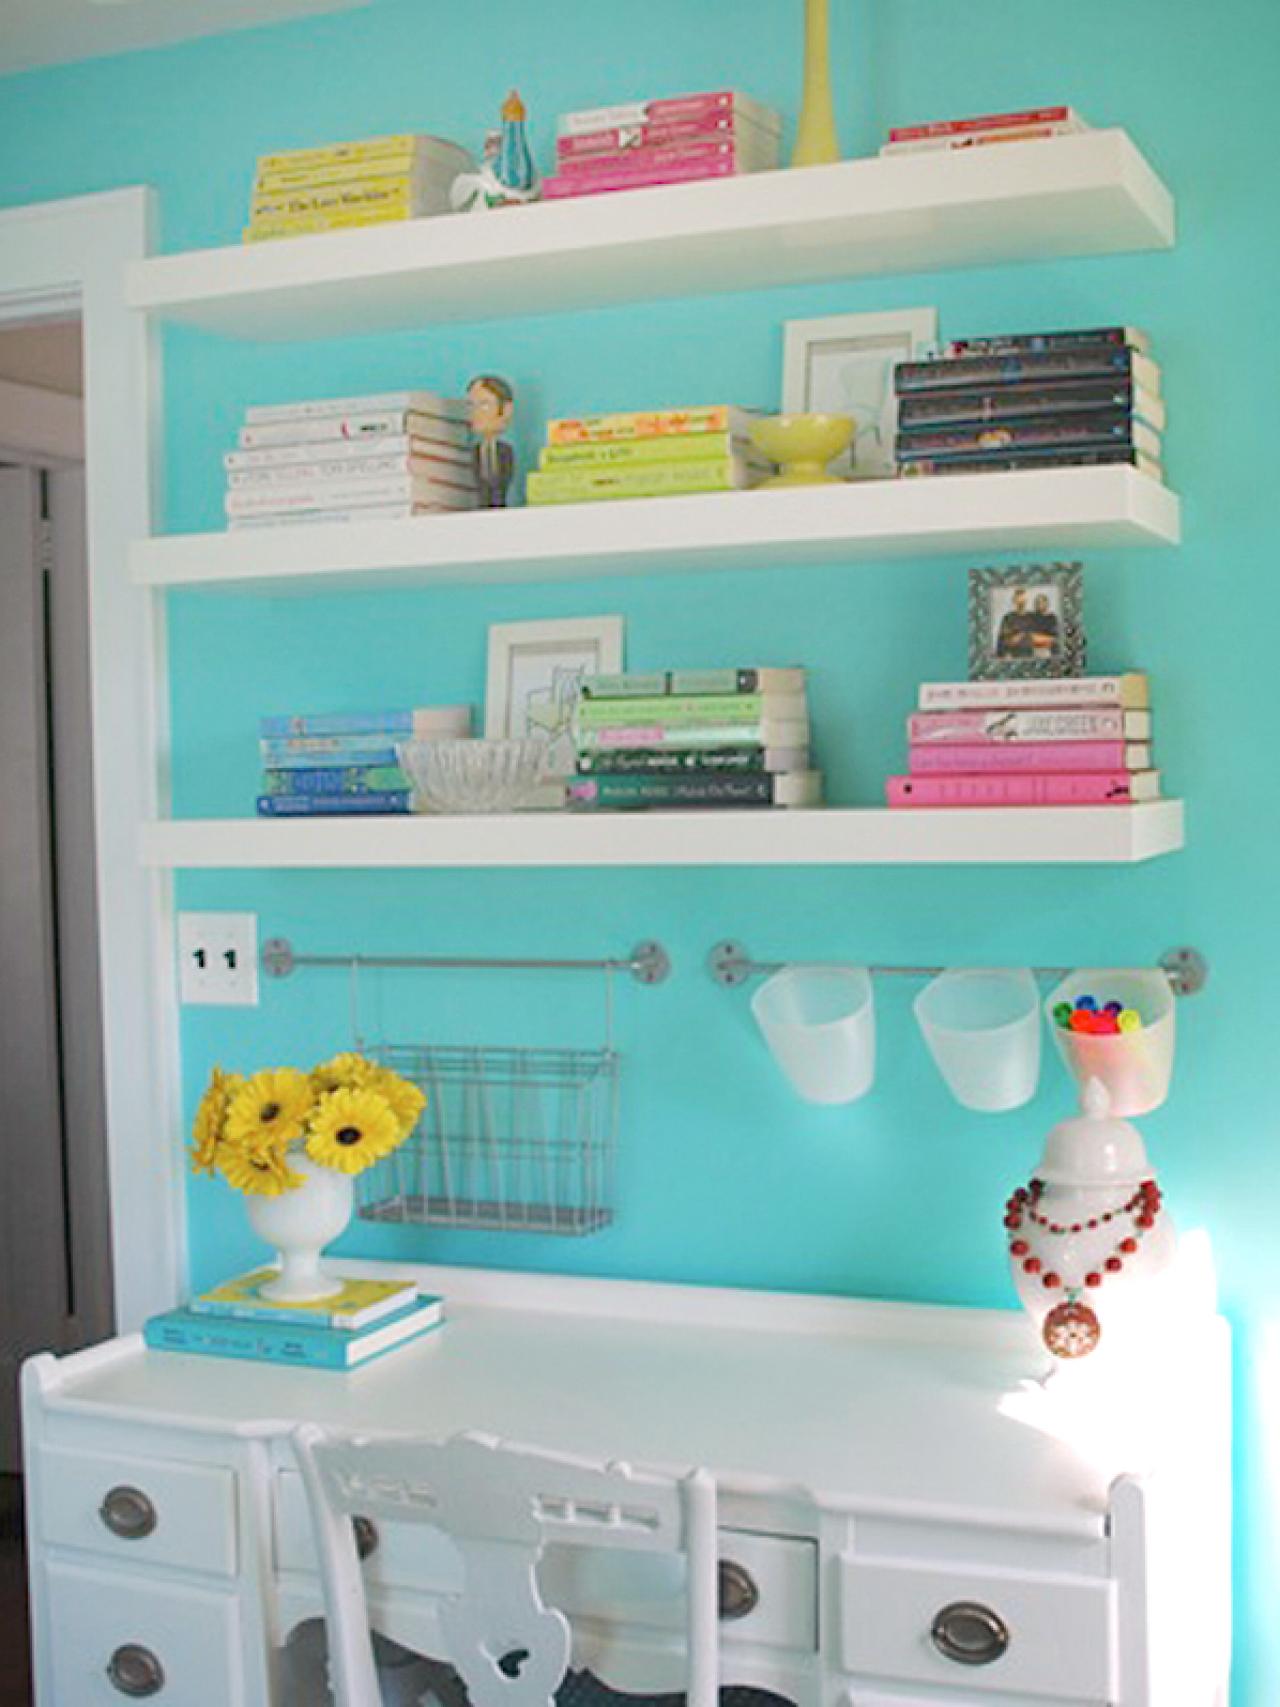
Art desks help you express your artistic flare through canvas support . There are many kinds of art painting projects out there that you can do with the use of an art table. From the simplest color applique of acrylic paints down to performing the many forms of oil painting techniques you can think of, these art projects can be achieved with the help of art tables.

Art tables come in many different forms and sizes. Choosing the best art desks would have to depend on the need and the skill of the artist involved. Also, the art  desks you see in stores or in your own home are not only limited to providing  you support with your painting projects. Here are some helpful art desk types that can provide as much comfort and support as your own art table at home.


THE DIFFERENT TYPES OF ART DESKS


Nail Art Desk – these are created from high grade materials, durable and sturdy. Has a soft and smooth surface, also equipped with storage for nail art tools and different nail polish colors. Some of the models are equipped with a blower for faster drying time.

Art Lap Desk – these are portable boards for the artist on the go or if table art are not available. Usually placed on the lap of the artist, which are available in various styles, shape, colors and sizes. Some of the models are created with a handle for easy carrying while others are with a large storage compartment and cushioned bottoms.

Arts and Craft Desk – made from sturdy steel frame and a powder coated finish. Can be used for sketching, creation of friendship bands, clay molding and a lot more.

Folding Craft Station – made from heavy gauge steel, can be folded for easy storage. Equipped with removable side trays, storage of art supplies. Also has pencil ledge, can be used for your table top easel.

Dual Station Table – are usually used in art teaching institutions. These are also available in four station drawing table. Equipped with a ratch tilting mechanism which allows to be tilted when needed.

Kids Art Desk with Storage – these are available in various designs and styles, usually equipped with storage bins for art materials.

Split Level Table – a three in one workstation which can be configured as standing height workstation, computer desk and drafting table.

Art Deco Desk – usually used to display art products or the table itself can be displayed as a stunning work of art. These are available in various designs and styles. These can be used as a work station and are equipped with drawers for storage of various art materials.


These are just some of the many art tables that are available in the market. Each of these tables are also available in numerous models for you to select from. These can be purchased from your online stores and local market. Do your homework and explore for more different kinds of art tables that would best suit your needs!


- XoXo

More Acrylic Painting Tips and Tricks You Should Try

One big advantage of acrylics is there wonderful versatility. This means that using acrylics you can achieve many different effects and use a variety of styles. For example, acrylics can be applied either very thickly or very thinly and all sort of combinations in between. The consistency and texture of acrylics can be changed with acrylic medium and gels, or pastes to create a variety of effects. For instance, you can use a glass bead or sand gel to create startling textures. Otherwise you can mix in clear tar gels to make a stringy, thick tar-like consistency that is used for dripping. Various acrylic additives can also be added to change the sheen of the paint, either to make matte, semi-gloss or high gloss sheens. There are a huge range of interesting gels, pastes and mediums to add to acrylics to create various effects and textures.

photo credits: wiki.answers.com
Acrylic paint is also very versatile and can be used for various mixed media applications, which broadens its appeal. Acrylics can also be used on a variety of surfaces - wood, canvas or paper. But once primed up with gesso, acrylics can be applied on almost any surface such as fabrics, clothes, clay, old vinyl records, boots and shoes and of course on house walls. Acrylics can also be applied using a variety of tools - such as spatulas, scrapers, Q-tips, toothpicks, sponges and lots more to create various effects.

The final finish of the acrylics on the painting can be altered to have a gloss, satin or matte finish. You can even use different finishes on various parts of the painting. When properly varnished, acrylic paintings do not need require a glass covering, so they can be hung straight onto the wall. You can even paint the edges of the canvas to create an interesting effect. If the paintings collect dust, you can simply wipe the surface over gently with a damp cloth.


TIPS AND TRICKS


Keeping Acrylic Paints Workable, Stopping them Drying Out - Because acrylics dry so very fast, squeeze only a small amount out of a tube at a time. If you're utilising a traditional wooden or plastic palette buy a squirt bottle so that you can spray a fine mist over the paint to keep it moist. The special 'Stay-wet' palettes – where the paint sits on a sheet of wax paper overlying a damp piece of waterproof paper does the same thing - keeps the paints moist.

Blot your Brushes - Keep a some paper towel or a piece of cloth besides your water container and get into the habit of always wiping your brushes on it after you rinse tem in water them. This stops water from running down the ferrule and onto your painting, leaving blotches.

Opaque or Transparent - All acrylic paints are opaque if applied straight from the tube or with only a tiny amount of water added – or if the paints are blended with a white paint. However, when diluted with water acrylics can be utilised like airbrushing or watercolours and the paints become transparent.

Acrylic vs Watercolour Washes - When an acrylic paint wash dries-out, it is fixed and permanent. Unlike a watercolor the dry paint is insoluble and can be over-painted without any concerns that the wash will be affected. The hues of the various layers combine optically to produce a unique effect. A watercolour glaze can be removed using water and a cloth, whereas the acrylic one is permanent and cannot be removed, but it can be painted-over.

Think Thin for Glazes - If you want to produce transparent glazes using acrylic paints the technique is to build them up in thin successive layers. Note that a thick layer will produce a glossy rather than a transparent look.

How to Improve the Flow of Paint Without Losing Color - To improve the flow of a color without losing of the strength of the color via dilution with water, always use flow-improver medium not just water.

Blending Acrylic Paints - Acrylics paints dry rapidly and so you have to work fast if you want to blend colors. One trick is to dampen the paper or other surface slightly as this will increase the time the paint can be re-worked.

Marking Hard Edges - Because Acrylic paints dry hard and bond permanently you can use masking tape applied directly onto the dried acrylic paint without threatening to damage the layer underneath. This tape makes it easy to produce a sharp or hard edge, similar to the method used wen painting a house. Make sure all the tape edges are stuck down very firmly and be careful painting along the edge. Don't apply the paint thickly otherwise you won't produce a sharp line when you lift the tape. Apply an even coat and be aware where you will have to lift the tape.

Using Masking Fluid - Masking fluids can be used just as effectively with acrylics washes, as they are with watercolors. Make sure the fluid is completely dry before you attempt paint over it, and don't paint too thickly. Masking fluid works on both paper and canvas. It is a good idea to experiment first to get familiar with the technique before using it on an important painting. Keep washing your brushes out with water and once the masking fluid dries it will ruin the brush. A good trick is to dip the brush into some detergent such as shampoo or washing-up liquid before using the brush for masking fluid as this makes it easier to clean the brush.

Using Acrylic Paint as a Glue for Collage - Provided the acrylic paint is used as a thick coat and the item to be glued is not very heavy, the acrylic paint will act well as a glue in a collage. This saves time and avoids the need to cover-up the glue. 

Watercolor Effects - Many painters like to use acrylics in a very fluid state, to create an effect similar to watercolor. There is a major difference, however, as with acrylics, the dilute washes can be layered one on top of the other without the risk of disturbing the colors underneath, provided the layers are dried thoroughly between applications. Once a layer dries it becomes fixed and is insoluble in water. One disadvantage is that the color layer cannot be in modifying once it starts to dry. You can however still avoid this problem using two methods. You can either wet the paper before starting to apply the paint. Or you can use an extra brush dipped in water. Immediately after using another brush to apply the paint use the wet brush to soften the edges and slow the drying.

Dripping and Pouring Techniques - This technique requires a very fluid acrylic paint that is poured directly onto the canvas. Or you can dip a brush, dipping it into the fluid paint and allowing it to run off the brush onto the painting.

Sgraffito or Scratching Techniques - Sgraffito refers to a scratching technique. It involves scratching into the top layer of partially dry paint to reveal either the wet base layer or the dry color beneath. You can use various tools for this technique, including screwdrivers, toothpicks or a sharpened end of an old paintbrush handle.

Making Use of a Squeegee - Even a standard squeegee that you can buy at any hardware store can be use to create interesting effects. You can also buy various tools of various shapes with foam rubber attached. To use this technique first squeeze out some blobs of paint along one edge of your support. You can add a series of colors. Then using a single fluid motion drag the paint across the surface or your painting with your squeegee mixing and smearing the paint in a single motion.

Use High Quality Paints - When you start and you are still learning it is best to use cheap paints. But for your final paintings always use high quality paints and brushes. The best quality paints have consistent and brighter colors.

Don’t Skimp on Paint - Trying to skimp of paint to save money is a bit mistake. Your paintings will be more interesting and 'alive' if you lay down a brush stroke with a full load of paint, leave it without any changes, and then reload your brush for the nest stroke. Don’t try and scrub the paint into the canvas or rework the paint unnecessarily, otherwise you will end up just staining the canvas or paper, and not really painting. The paintings look best when you don't skimp on paint.


- XoXo
post credit: hubpages

23.12.14

Are You Spending the Night Out? Don't Forget Your USB Condom!

photo credit: cdni.wired.co.uk

Don’t get carried away by the headline—don’t be surprised either. This topic does not come anywhere close to ‘sex’. A USB condom is not for humans, but for your smartphones and tablets.

When you are running out of juice on your smartphone or tablet, the first thing, you hunt for is a power adapter for the device. If you are not at home, you end up searching around for a free USB port on anything from a desktop PC or laptop to a media player or even a television set.

Plugging in your smartphone to an available USB port for recharging the device is done without thinking. Plug in and recharge. Though it sounds pretty simple, it could cause havoc in your life.

Your smartphone contains immense data that can be stolen and used against you. Your pictures, selfies, data, music, pin codes, app data, almost everything that is on your smartphone is useful to someone out there. So when you plug in your smartphone to any unknown computer’s USB port, a possible malware residing on that PC or laptop could pull your smartphone’s data without you knowing it. If you are heading to your friend’s place, you may think you are safe. But even your friend could be in the dark with viruses and malware lurking around in his computer. Not only data being hacked, getting infected by the malware also be an additional threat. You could get the malware transferred to your device (and vice versa).

So what is the best option to charge your smartphone without the fear of being hacked or infected? The first-best solution is to either carry your charger along or to buy yourself a portable USB charger. The next-best solution is to get yourself a USB condom.

photo credit:makingsmilesonline.com

As the name suggests, a USB condom is similar to a regular condom. It is a super simple device or gadget (dumb gadget actually), which cuts off the data section of the USB port and only passes the power through. This causes an isolation of the PC and the smartphone and only ensures that the power is passed on to charge the device.

A standard USB 2.0 port contains four pins—one for +5V power, one for ground and the other two for data. The USB condom is just a simple USB extender with the data pins cut off. Only pins 1 and 4 are used, while pins 2 and 3 (for data) are not connected. This gadget is pretty small and can be plugged into your USB cable at all times. When you need to sync your smartphone with the PC, simply disconnect it.


-XoXo
post credit: http://goo.gl/sjbD2t

19.12.14

Keep Your Holiday Party Makeup in Place All Night with these 7 Easy Steps

photo credit: frillseeker.ie

The season for socializing is upon us and our calendars are filled with holiday house parties, work happy hours, and of course, New Year’s Eve. It’s a time for cocktail dresses and smoky eyes, sequins and red lips. We all want to look our best, and we usually do when arriving at our destination. But what about after a few hours of nibbling on hors d'oeuvres, sipping champagne, and hitting the dance floor? Not so much. So we reached out to M.A.C Cosmetics senior artist Keri Blair to teach us how to keep our makeup in place, so we can have a holiday party exit just as grand as our entrance.

Prep your skin. Prepping your face before applying makeup is essential if you want to keep things in place all evening. First, apply a light moisturizer evenly all over your skin and follow with a makeup primer.

Apply lip liner on your entire lip. Choose a lip liner that is close to your favorite holiday shade and apply it all over your lip as if it were lipstick. Then, apply your lipstick over that. This will keep your color vibrant and make it last even after all the eggnog.

Wear lip gloss over your lipstick. To be extra safe and make sure that lip lasts, apply a light layer of clear gloss over your lipstick. This will give it a festive shine and seal the color in for even longer wear.

Try a caffeinated eye cream. It’s a given that your holiday schedule will encroach on your sleep, but that doesn’t mean you have to arrive to the party with dark circles under your eyes. Before you apply concealer, prep your under eye with a cooling and caffeinated eye cream. These caffeinated eye creams are wonderful for a night-out because it contains a high-octane dose of caffeine powder and yeast extract that helps to de-puff and create a smoother, brighter under eye area even after midnight.

Highlight under your eye. For an extra boost of brightness that will last until the wee hours of the night, apply a light layer of highlighting powder after your makeup in an inverted triangle under your eye. Brush it on, then tap it into your skin using your finger.

Set your makeup with atomized water. To keep your makeup looking fresh, dab a few drops of atomized water on your face with your fingers or a cotton ball after you apply the finishing touches.

Keep blotting sheets in your purse. After all the drinking and dancing, many of us end up with a layer of sheen across our foreheads—and not the “Oh, you’re glowing,” luminescent kind. Your knee-jerk reaction may be to apply powder, but instead of adding more makeup, dab a blotting sheet on your face to remove excess oil and shine without disturbing the makeup that’s already there.


-XoXo
post credit: elle.com

18.12.14

3 Efficient Ways to Snuggly Protect Your Smartphone this Holiday Season Like A Hen to its Clutch of Eggs

photo credit: timedotcom.com

Smartphones are the most expensive, abused and neglected devices we depend on. We toss them on our car seat, drop them off the night table, sit on them, drop them on the driveway and, yes, drop them in the toilet.

It doesn't take long to show wear and tear on a brand new phone. Despite your initial cradling, nicks on body edges and screen scratches build up quickly, taking the newness out of your constant companion.

A phone’s poor external appearance can easily drop its resale value by $100, so making the effort to keep it new pays off. Here are some tips on protecting your phone.


1. Invest in Screen Protectors

photo credit: charliewhite.net

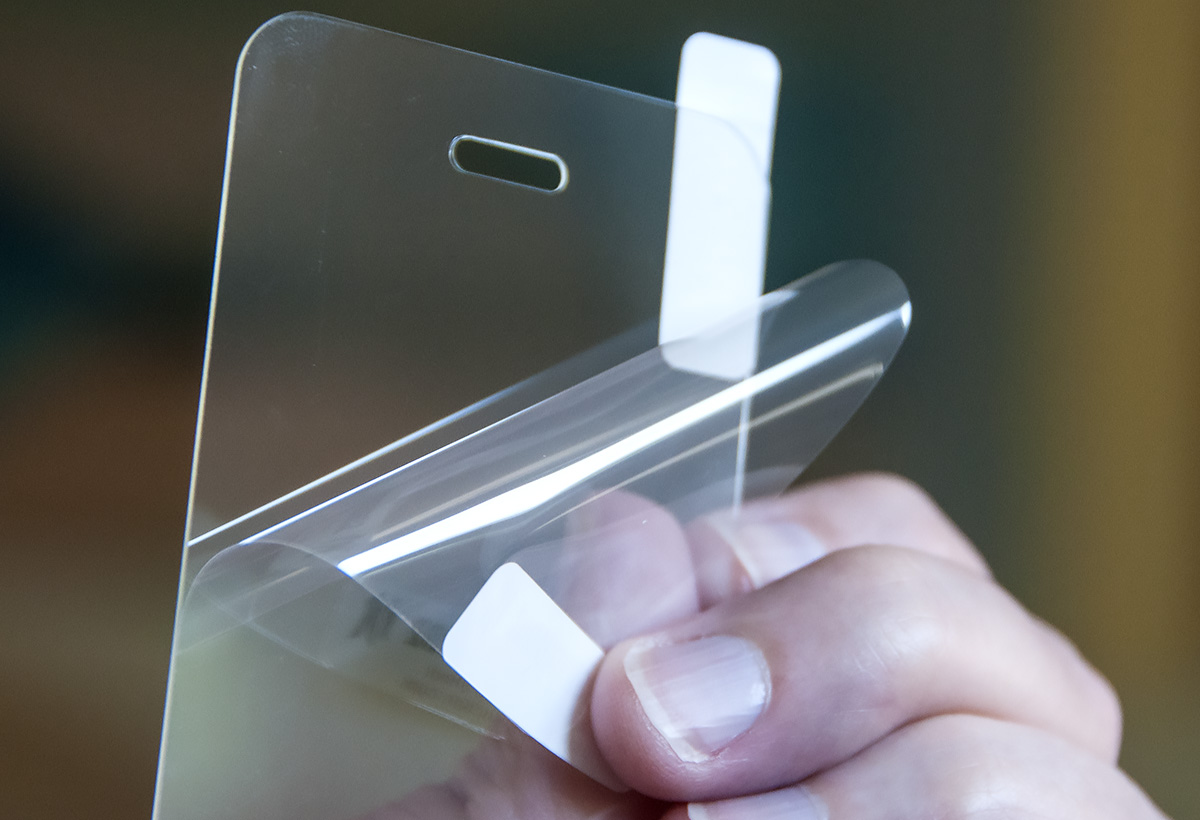
Screen protectors cost $10 to $30 depending on the material they are made from. All styles protect your screen from every day wear, but the pricier models offer better protection from harder drops and impact. Screens pay themselves off quickly because even with care plans, including Apple Care, you still end up paying an additional fee for getting your screen replaced.

Screen protectors are easy to put on, especially the dry kind that only require a spotless screen. If you miss-align, you can try again. The wet style of screen protectors test your patience and are better left to the pros. If you don’t feel comfortable doing it yourself, get a cellphone store or mall kiosk to do it for you.

There are three kind of screen protectors, starting with the cheapest:

  • PET: Polyethylene terephthalate protectors, for older phones, to protect against light scratches but not hard, glass-shattering drops.
  • TPU: Thermoplastic polyurethane screen protectors perform better the PET, keeping away grease and fingerprints. They are self-healing when scratched. They absorb light drops, but don’t have the hard, glass feeling of original screens.
  • TG: Usually the best ones are made from tempered glass screen protectors. They have multiple layers including non-reflective hardened glass, are a fraction of a millimetre thick and will ultimately sacrifice themselves, shattering into pieces in the hardest drops, saving your original phone screen. Here you will find screen hardness ratings at 9H or more.

Gorilla Glass, featured in better phones, protects against impact – often demonstrated with hammers and nails, but it still scratches. If you are a beach bum, get a glass screen protector to keep sand away. Smartphone companies recommend that you use screen protectors in addition to cases. Some cases offer better value when they include a mid-level quality screen protector.


2. Buy A Good Smartphone Case


photo credit: gadgetreview.com

This is very important most especially if you travel a lot or if you are involved in sports or any other physically demanding activities. That said, in choosing the best smartphone accessories, how do you choose from thousands of phone cases? Before we get to that, here is the most important, overlooked detail you should check out in a phone case – its edge-to-edge screen access.

The sides of all cases go a little higher, slightly overlapping the screen, protecting it when the phone is placed upside down or when dropped on its corner. That little overlap varies in shape, thickness and how much of the screen edge it covers. Better cases pay attention to this detail; not getting in the way of your fingers as they touch the screen edges. Finger shapes vary; some won’t be able to properly touch the screen’s edge on thicker or wider case designs. When it comes to portholes, you have to check if it is wide enough for your smartphone charger to fit in. Some cases make the mistake of creating a slightly wider porthole thus giving you a hard time charging your phone using your ac wall charger, your dc car charger, or even your very own usb car charger. This is why its very important that you first try screen access on any case before you buy one.

With all that being said, here are four kinds of cases designed to progressively protect your smartphones against bumps, drops and unsuspected impacts.

  • Minimalist Cases: These ultra-slim, skin tight cases come in hard, soft plastic/rubber or leather. They are minimally invasive, but protect the least against drops.
    • Most minimalist smartphone cases are equipped with clear polycarbonate hard plastic for its exterior. They are usually used for showing off your new iPhone 6.
    • The thicker versions have a hard back shell and soft drop absorbing edges features non-slip strips across the back – great for counters and cars.
    • For leather cases there are features that include a microfibre interior and a thinly bonded shock-absorbing screen edge. The attention to protected buttons with even thinner leather oozes quality. Plus the feel and smell of pure leather just screams quality.
  • OtterBox Cases: Used to be a brand. But today it has become a household name that all iPhone users use for identifying smartphone case-types. These type of cases are very well-known for putting protection in front of style. These type of smartphone case features a one-piece hard shell bonded to an interior soft shock absorbing interior.
    • Symmetry-type OtterBox cases offers a two-piece is soft inside and hard outside and offers better protection and slightly more screen on the edges. It also comes with a screen protector.
    • The Defender-type OtterBox cases features a three-piece shell offering the best protection against the elements and impact.It has a built-in screen protector with a thin, water-tight membrane for the iPhone 6 touch fingerprint reader. The outer shell is a belt case.
  • Folio Cases: These cases are usually used for large screen phones and they mostly feature a smaller window on the front flap showing quick views of time, weather and (depending on the smartphone model) the ability to make phone calls without opening the front cover. This type of smartphone case has an exterior made from decent faux leather and and interior made from high-quality suede fabric. These cases also feature a reflective window that acts as a mirror when the phone is turned off.
  • Grip Cases: This type of smartphone casing are the types of smartphone cases for the dashing and daring of smartphone users. These are usually chosen by users that knows a thing or two when it comes to smartphone caution and care. Grip cases doesn't have all those fuzzy details like an otterbox or a folio case but it offers a slightly better protective feature compared to minimalist cases like:
    • The power battery grip cases. These types of grip cases features a built-in 2,000 mAh chargeable battery, which doubles your usable time. It is graspable not only effectively graspable but it also protects your phone against wear. It offers a full button protection and charges the inserted iPhone or smartphone with an external, cheaper micro-USB cable.
    • The exoskeleton grip cases has a feather-lite, one-piece aluminum-machined body with an easily accessible bottom slot and inside cushion pads. The creation of these exoskeleton grip case was inspired the honeycomb shapes seen inside beehives. Not to mention, the exoskeleton grip case is currently the toughest case (material-wise) for the iPhone and when inserted, only adds less than a penny in dimension thickness.

3. Choose High Quality Smartphone Charging Accessories

photo credit:makingsmilesonline.com

Not only is it important for you to take care of your smartphone's exterior facade but it is as equally important to take care of your smartphone's internal battery as well. A good quality charging device doesn't only allow you to save efficient time in charging speed but it would also allow you to enjoy your smartphone for longer periods of time. Other than authentic accessories you can buy for your smartphones, you can find a lot of dependable and high-quality ac wall chargers, dc car chargers, and usb chargers from independent companies that work as well as the ones found inside the iStore or tech shops in general. Not only that, you'd also be spending way less and still get the same satisfaction with your smartphone's battery life. What's important is that you choose quality accessories so you do not compromise on your expenses and your phone's safety.


Do you agree with these smartphone protection tips? Let your thoughts be heard in the comment section below. Also don't forget to share this helpful article with your family and friends on Facebook, Twitter, and Google+. Thanks!

-XoXo
post credit: globalnews.ca